

Whether you’re a freelancer, agency, or small business, it’s highly unlikely you haven’t chased payments from time to time. And SMBs usually spend 14 hours per week handling late invoices.
With a solid invoicing system, you can get ahead of all the issues and mismanagement. But, among so many processes and delays, how do you get it right? Well, invoicing doesn’t have to be so frustrating.
In this article, I’ll share the practical methods to invoice professionally, how you can use a client billing software to automate that and get paid on time.
Let’s begin.
What is Client Invoicing?
Client invoicing is the process of billing clients for your work or services in a clear and structured way. It provides detailed records of what was delivered, how much is owed, and when payment is due.
Late payments are a big challenge—most small businesses are paid 8 days past the deadline. A clear and professional invoice can help you avoid delays and disputes.
And you can even automate payments, track statuses, and send reminders. It will eventually save you time and create better and more transparent relationships with clients.
How to Create a Client Invoice in 6 Simple Steps
By following a few simple steps, you can create accurate, hassle-free invoices that keep your business running smoothly. Here’s how to do it in just six steps with Agency Handy:
- Start with client details
- Add order information
- Define payment Terms
- Add and customize payment reminders
- Review, finalize, and send the Invoice
- Track payments and update invoice Status
Before going into the details, let’s take a look at how you can stand out with your invoices. Select invoice from your dashboard.
Now let’s break down each step in detail.
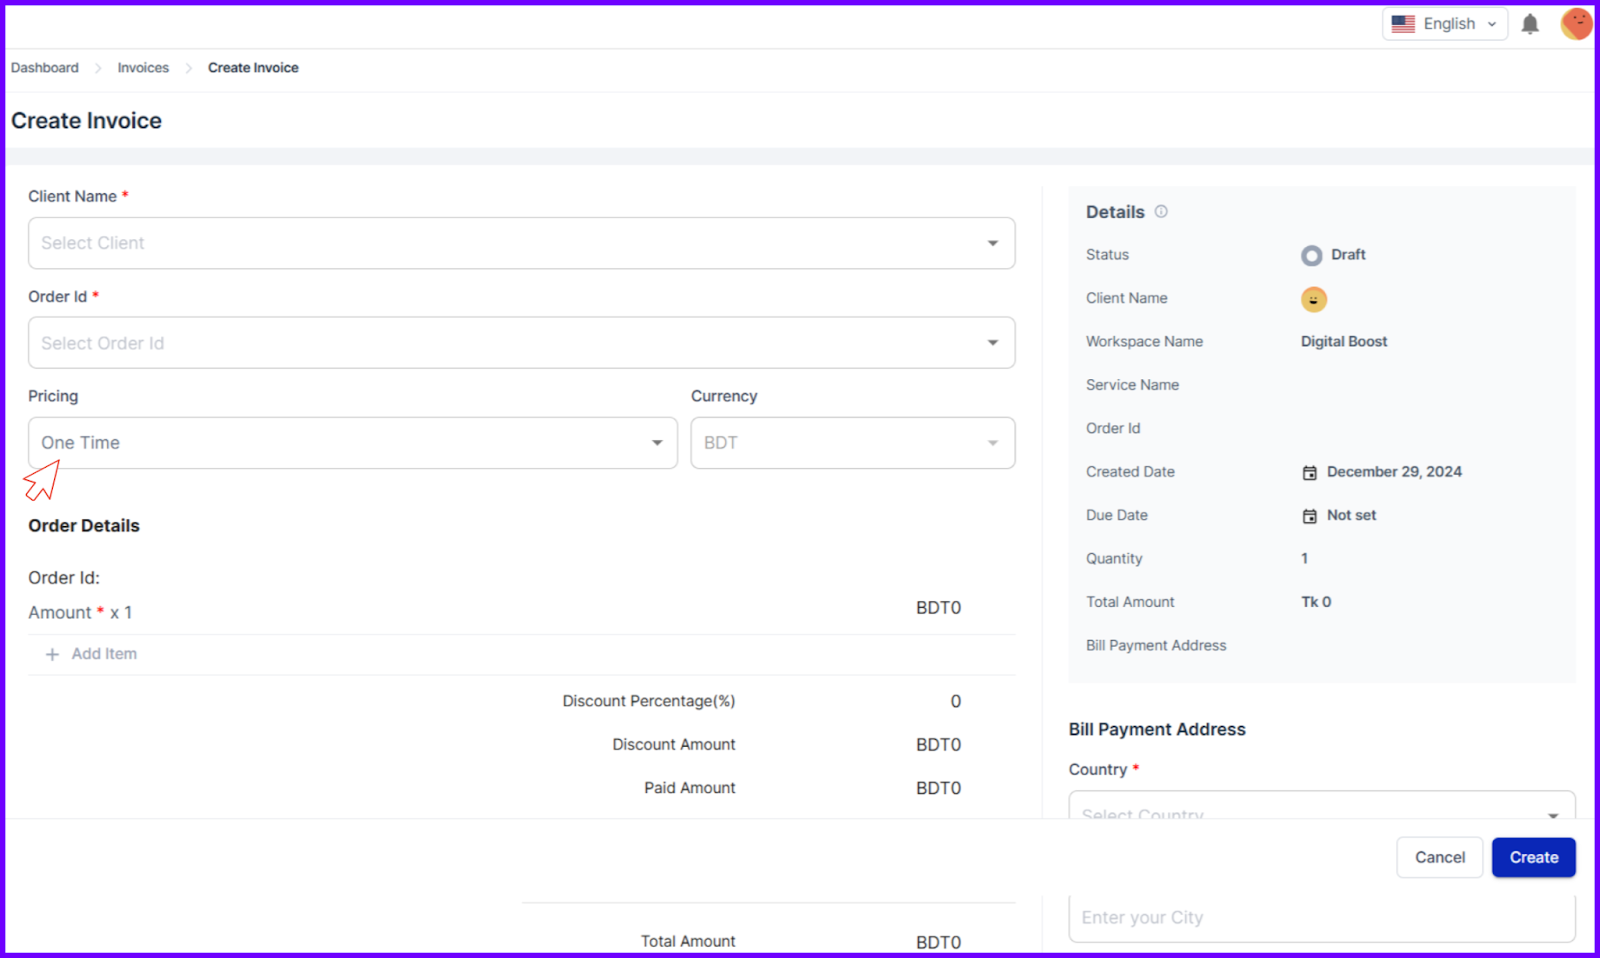
Step 1: Start with Client Details
Your invoice begins with a solid foundation. The beginning info ensures all the key information is upfront and easy to find:
- Client’s Information: Add the client’s name, company name, and billing address to make sure the invoice reaches the right person.
- Order ID: Choose the relevant order ID from the dropdown menu.
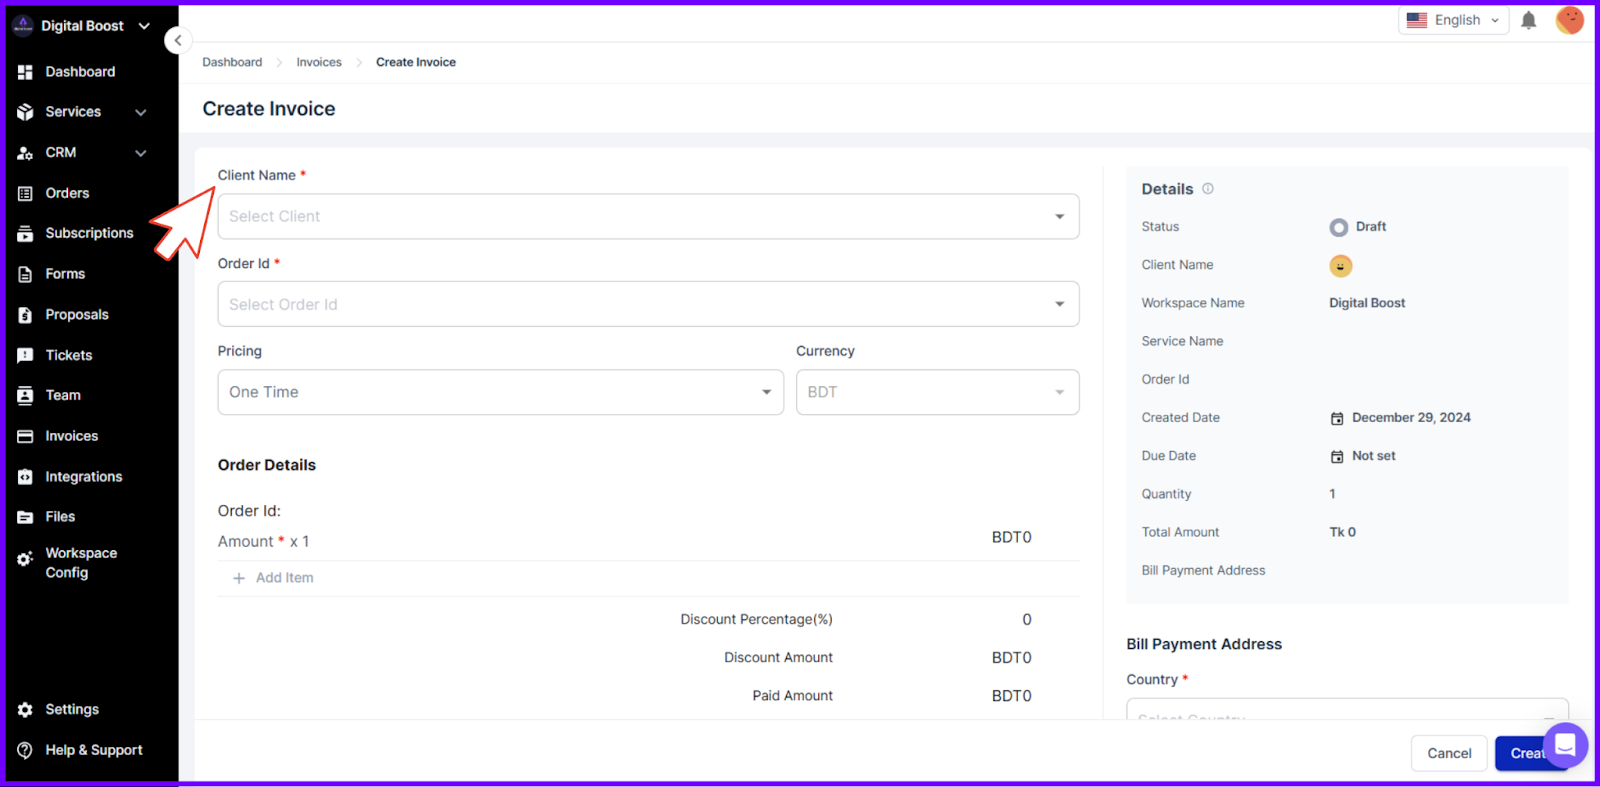
If any information is incomplete, you can easily add or update it manually.
Pro Tip: Though it’s not a must-have, you can add your logo to give your invoice a polished, branded touch—it makes a great first impression.
Step 2: Add Order Information
The body of your invoice is where you outline exactly what your client is paying for. A clear breakdown ensures no confusion and faster payments.
- Description of Services: Clearly describe the items or services provided. Break down each line item with a clear description, unit price, and quantity. If the service isn’t linked to an order, manually add the items or services.
- Line Item Totals: Add these for each item, showing exactly how costs are calculated.
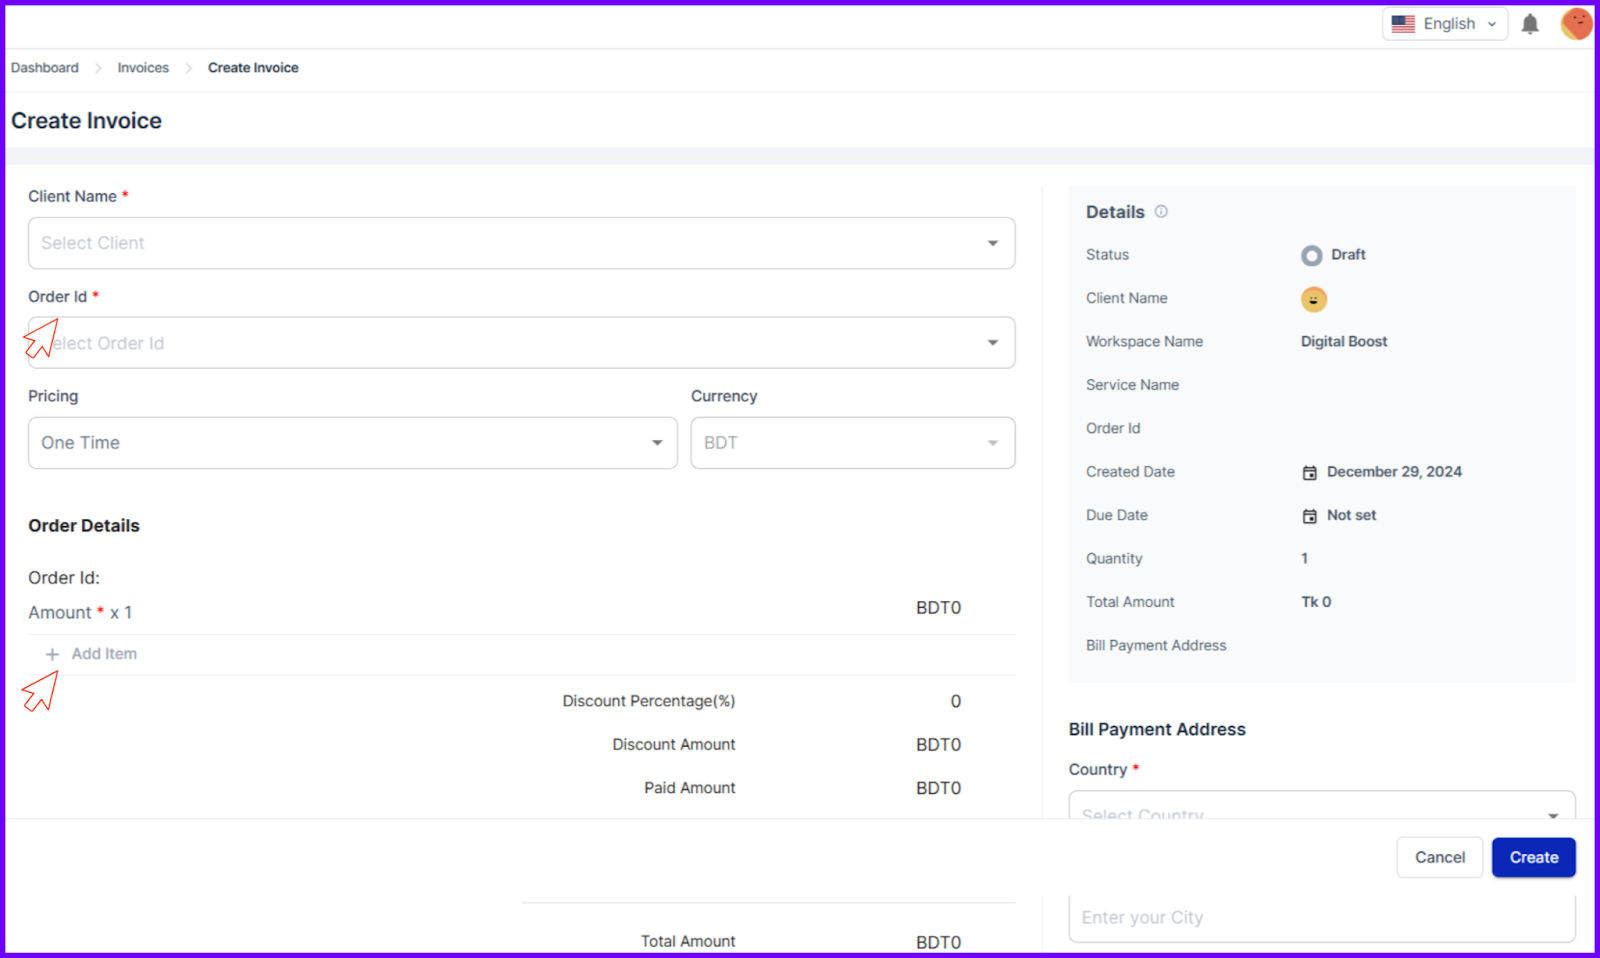
The system calculates the subtotal, discount, VAT, or any other taxes, saving you time and avoiding manual errors.
For complete records, add your client’s billing address, including:
- Country
- City
- State
- ZIP Code
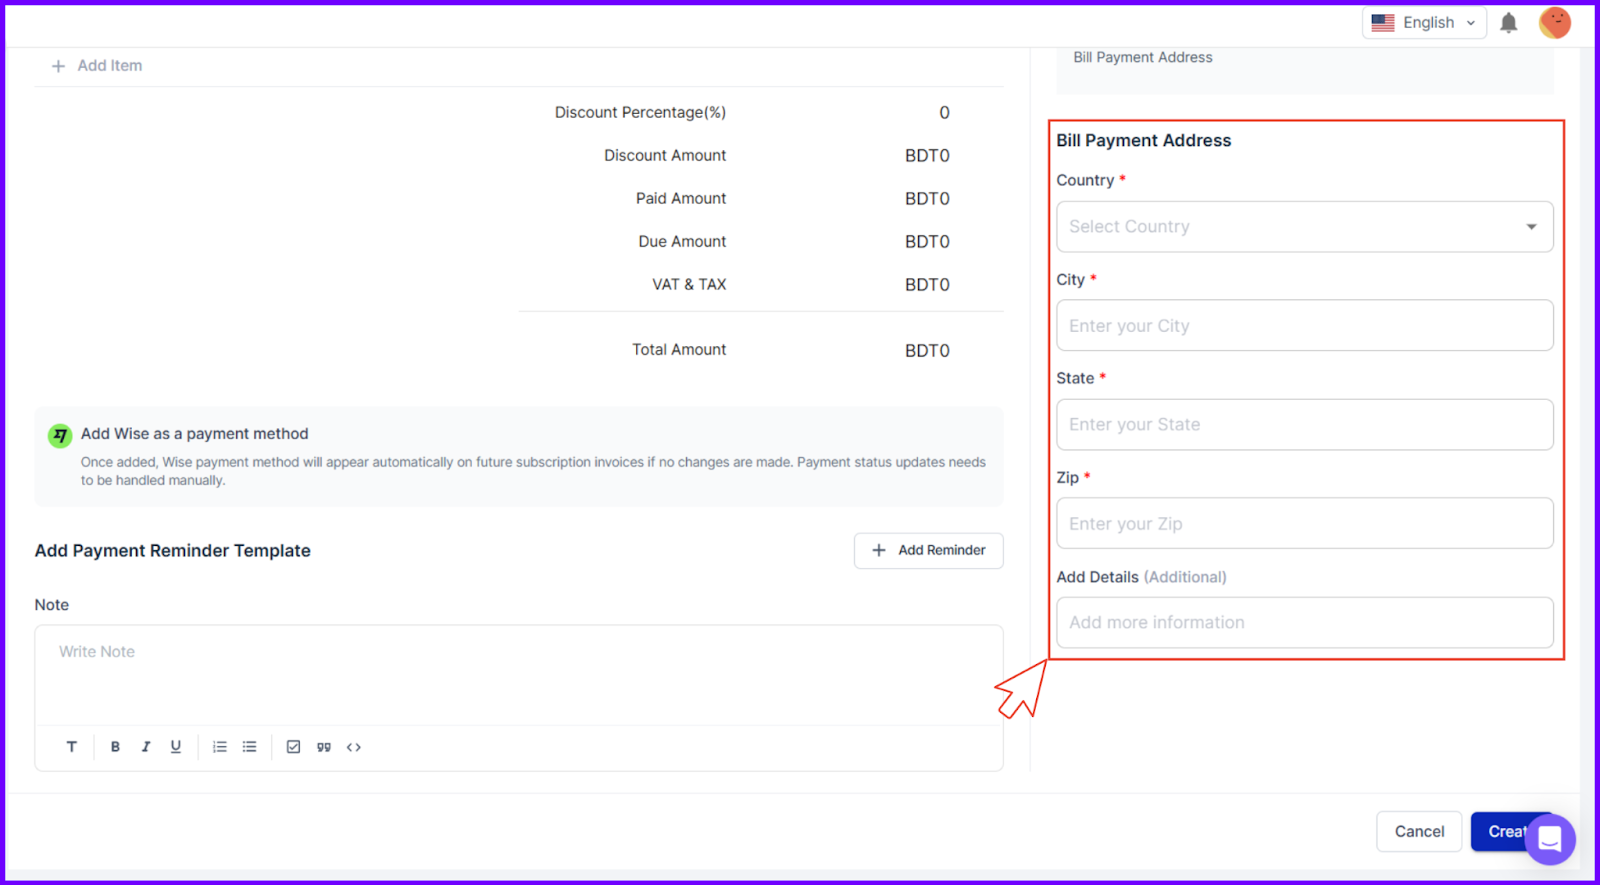
Pro Tip: Add a billing cycle and timeline if it’s a subscription-based service.
Step 3: Set Up Payment Terms and Gateways
Define when and how you expect to be paid. Clear payment terms and methods make it easier for clients to follow. You can do this via Proposal.
However, set a payment due date based on your agreement with the client. For recurring payments, specify the billing cycle, whether daily, weekly, monthly, or yearly.
You can choose from multiple payment gateways like Stripe, PayPal, or manual banking. If you prefer Wise for manual invoicing, remember to update the payment status manually once the client pays.
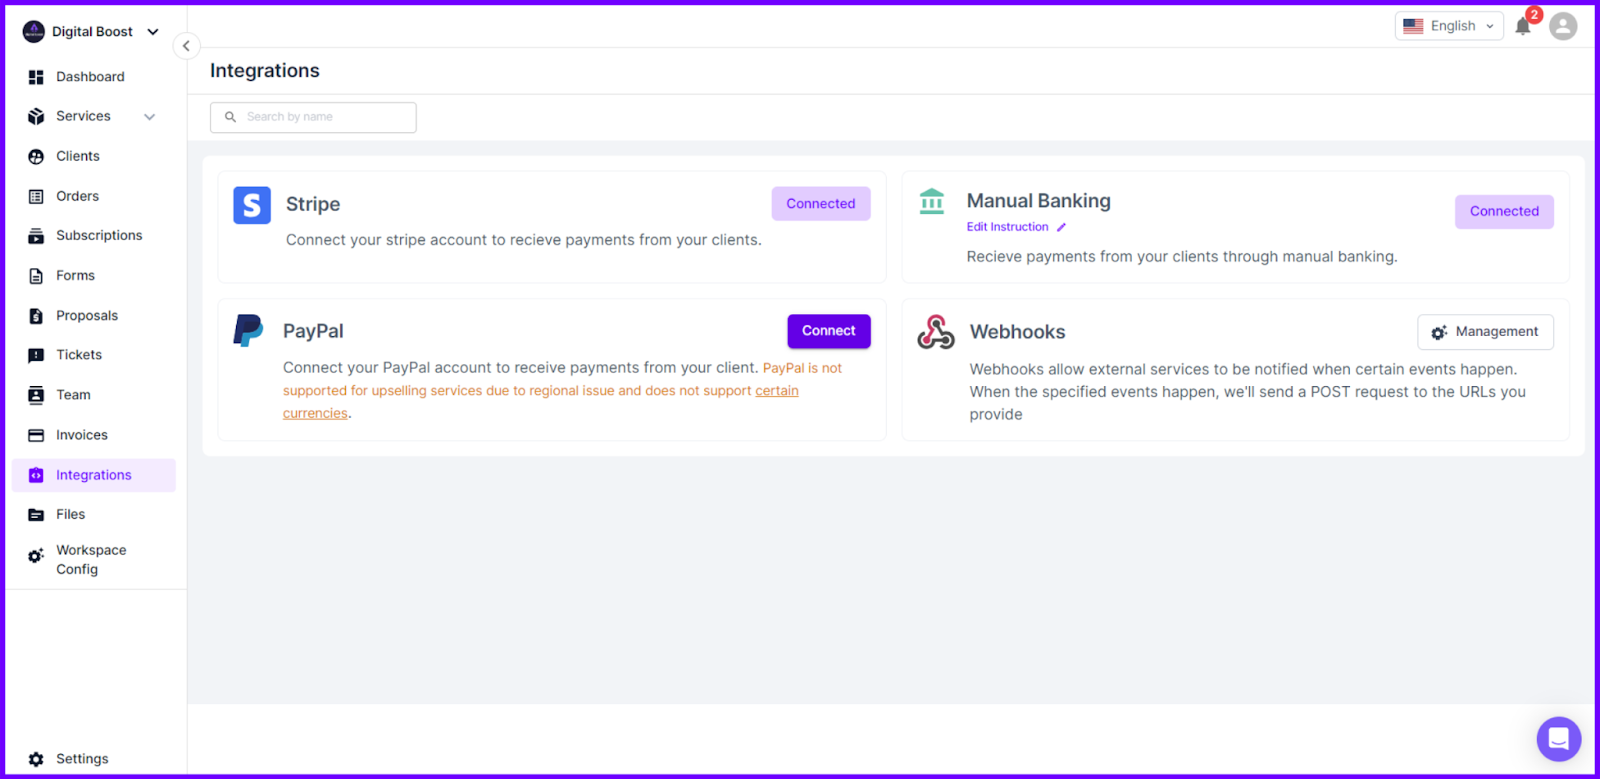
Pro Tip: Before setting up invoices, make sure to connect your preferred payment method.
Step 4: Add and Customize Payment Reminders
Avoid chasing late payments by setting up automated reminders. Though there are default reminders in place, you can customize these to match your payment goals.
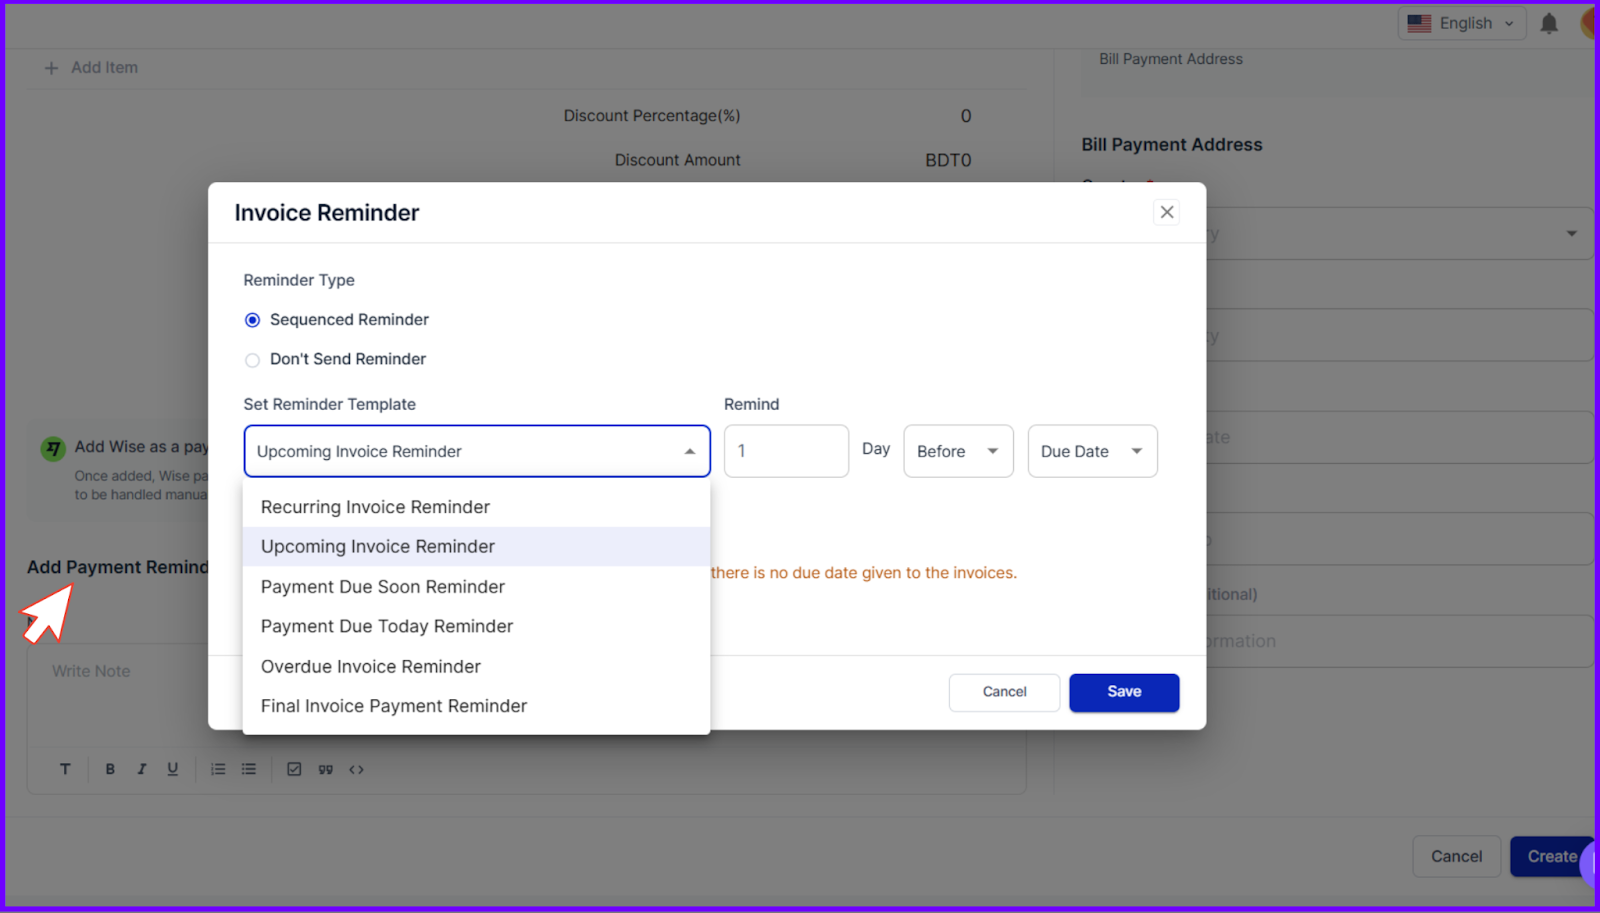
Click on the “Add Payment Reminder Template” option, and select from options like “Upcoming Invoice Reminder” or “Overdue Invoice Reminder.” Set the reminder to go out a specific number of days before or after the due date.
Step 5: Review, Finalize, and Send the Invoice
Before sending your invoice, take a moment to double-check that all the details are correct and complete. Mistakes can lead to delays, so it’s important to review everything carefully.
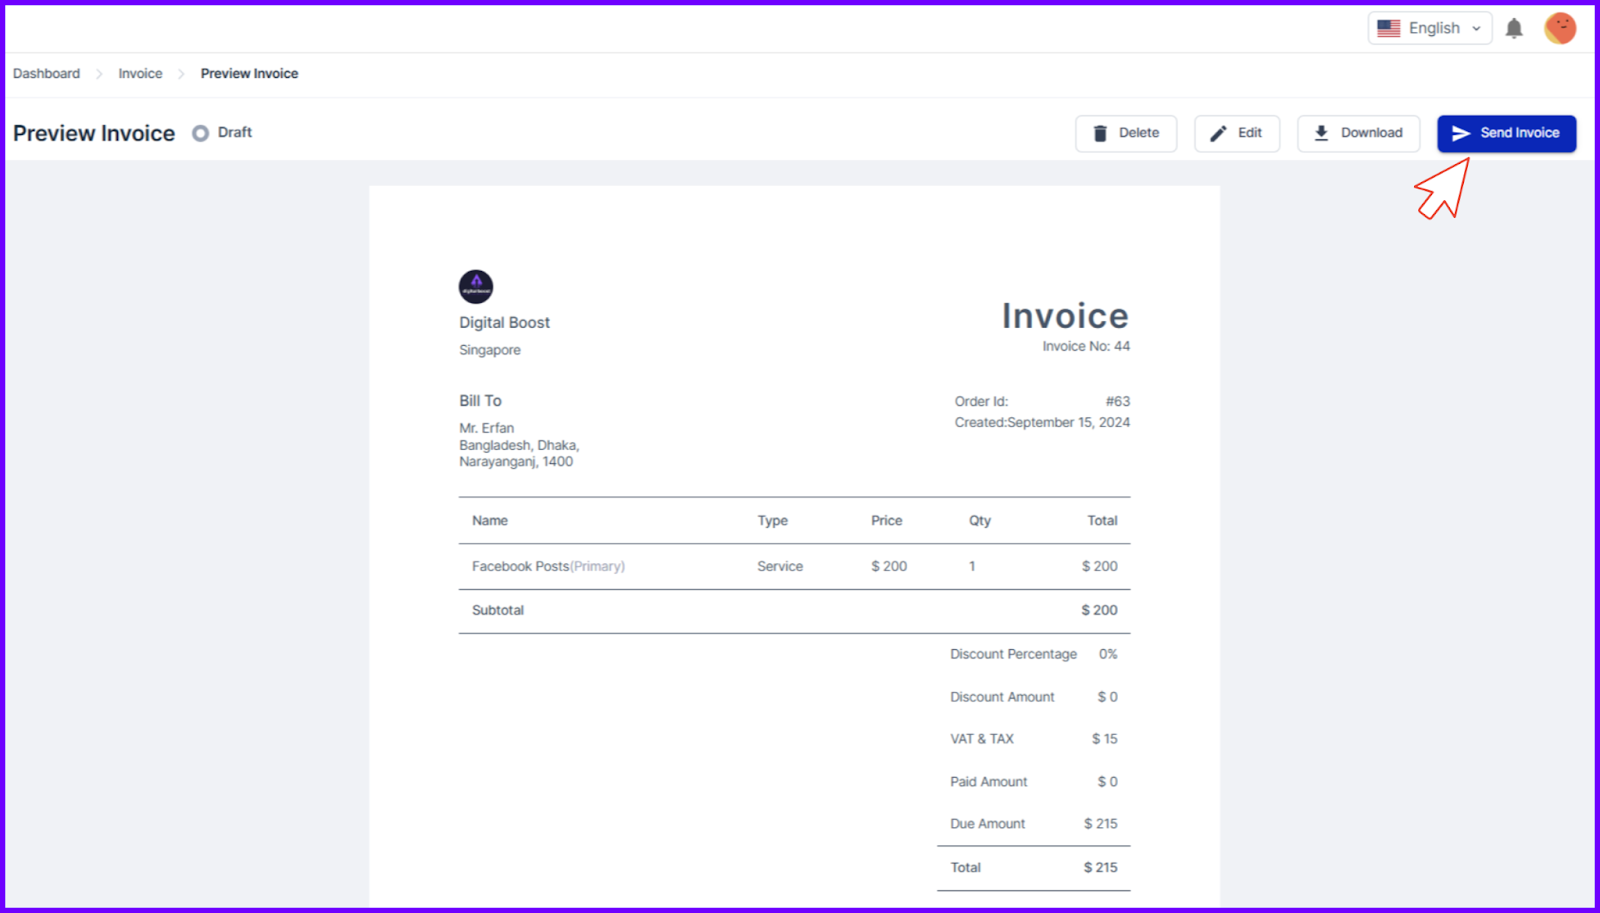
When you create an invoice, it’s saved as a draft. Properly review all the details, including client information, services, totals, and payment terms.
If everything looks good, download the invoice as a PDF or click “Send” to deliver it directly to the client’s email.
Pro Tip: Add a digital signature to enhance professionalism and build trust with your clients.
Step 6: Track Payments and Update Invoice Status
After sending the invoice, it’s important to monitor its status to stay updated on your payments.
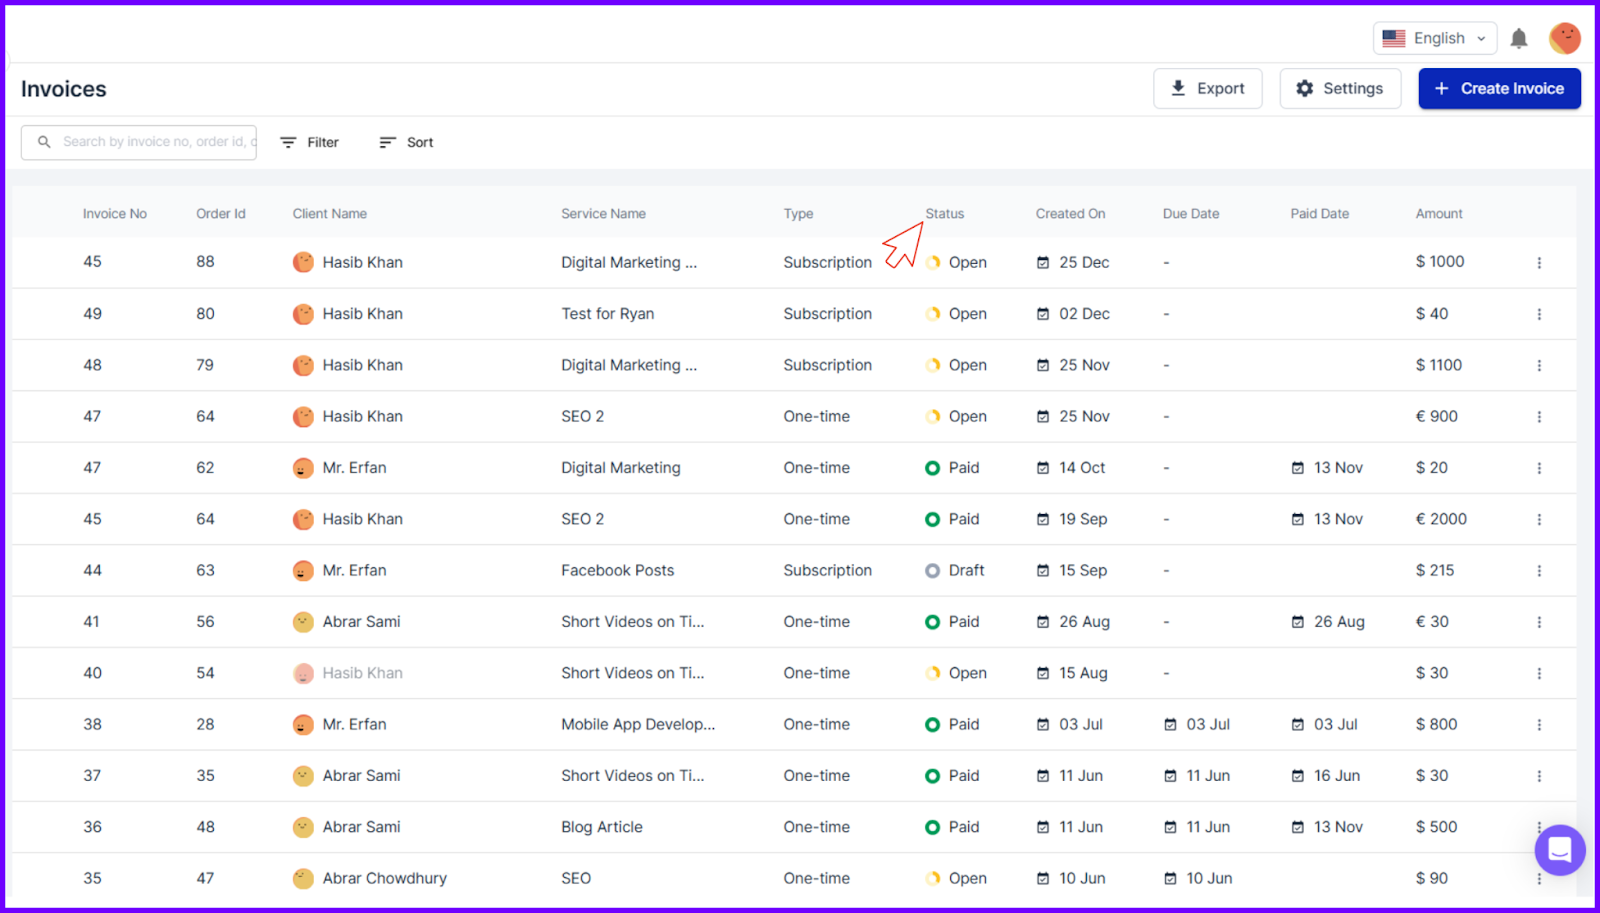
Go to the Invoice dashboard to view all invoices and their statuses. Once you receive a payment, the invoice status will be automatically updated to “Paid.”
If the payment isn’t received by the due date, reminders are automatically sent based on the schedule you set.
For invoices that are voided or uncollectable, update their status accordingly. This keeps your records organized and ensures smooth financial tracking.
With these steps, you’ll be able to create and manage invoices effortlessly.
Quick Invoicing Checklist to Improve Accuracy and Reduce Errors
Here’s a checklist to ensure every invoice you send is professional and complete:
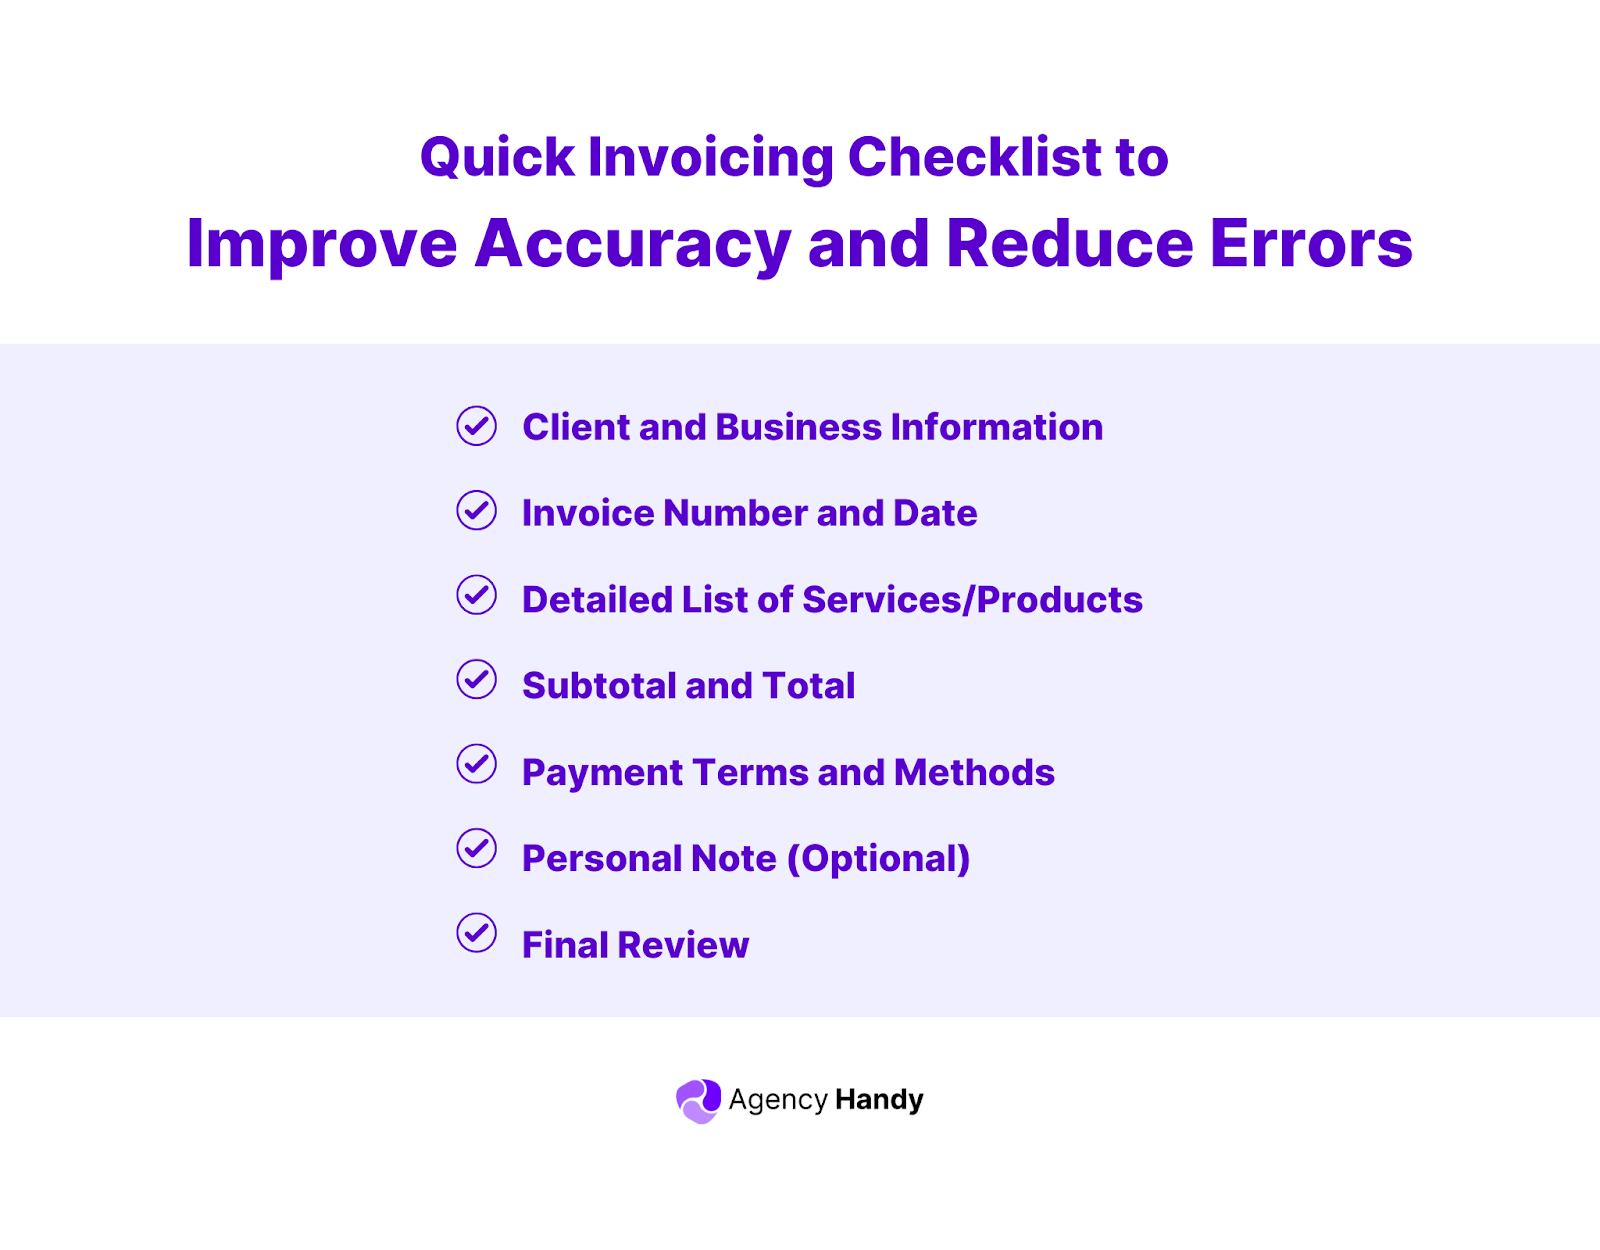
- Client and Business Information: Double-check names, addresses, and contact details.
- Invoice Number and Date: Assign a unique number and include the issue date.
- Detailed List of Services/Products: Describe each item, quantity, and unit price.
- Subtotal and Total: Make the total amount due easy to find.
- Payment Terms and Methods: Specify due dates, accepted payment methods, and any late fees.
- Personal Note (Optional): Add a thank-you or reminder message to make the invoice feel personalized.
- Final Review: Check for accuracy, save, and send!
What’s the Purpose of Professional Client Invoicing?
Here’s what a professional invoicing brings to the table:
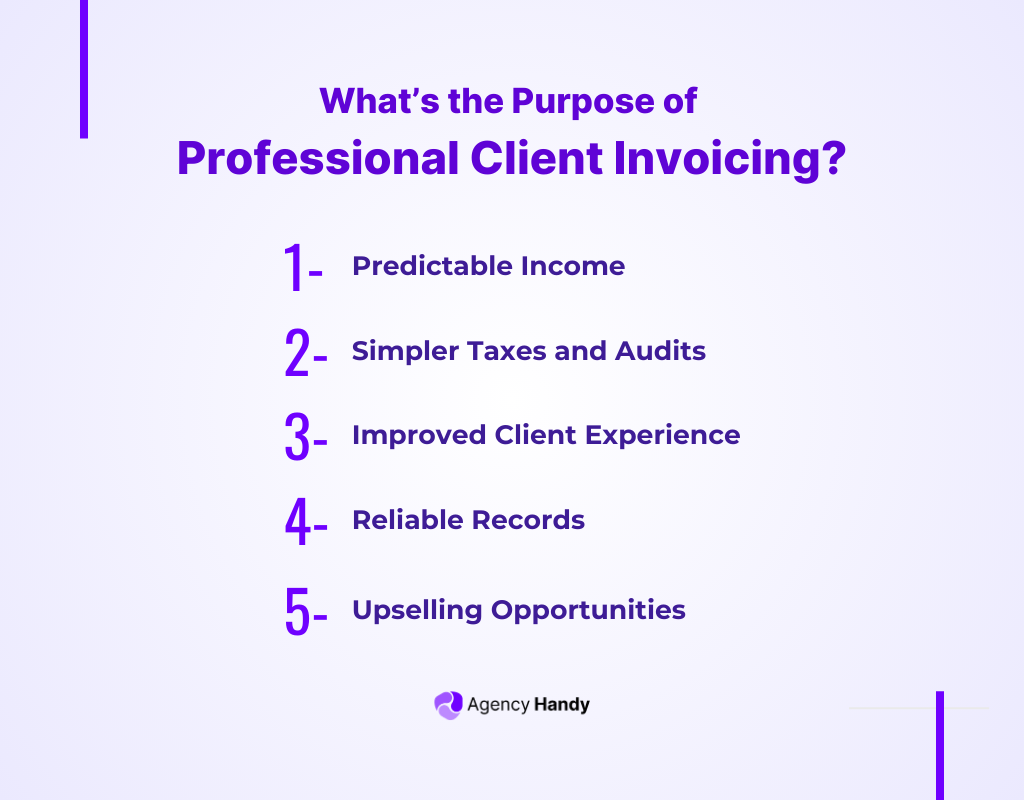
- Predictable Income: Clear invoicing lets you project your income more accurately. Knowing exactly when payments are due helps you plan for expenses, investments, and growth.
- Simpler Taxes and Audits: Keeping invoices organized makes it easy to find financial data and track revenue. This saves time during tax season or when reviewing your business finances.
- Improved Client Experience: A clear, well-organized invoice makes a lasting impression. It helps clients understand their payments easily, builds trust, and encourages them to choose your services again.
- Reliable Records: Invoices are clear proof of your services and payment terms, helping confirm details and keeping your transactions smooth and hassle-free.
- Upselling Opportunities: Use invoices to highlight other services or promotions. A quick message can remind your clients to re-book or explore more of what you offer.
Common Mistakes in Client Invoicing You Should Avoid
Even small invoicing errors can cause big delays in payment. Here are some common mistakes to watch out for:
- Wrong Client Details: Sending invoices with incorrect names, addresses, or contact details delays payment and creates confusion.
- Missing Key Information: Leaving out due dates or essential details like item quantities, prices, or payment terms can make your invoice incomplete and unclear.
- Calculation Errors: Errors in totals, taxes, or discounts make invoices unclear and require time-consuming corrections.
- Outdated Business Details: Old contact information can leave clients unsure of how or where to reach you.
- Missing Payment Methods: Not listing multiple payment options makes it unclear to clients how to make payments quickly.
- Overlooking Final Review: Skipping a final review can lead to overlooked mistakes, requiring re-sending and delaying the process further.
Best Practices for Effective Client Invoicing
Keeping things clear and simple helps your clients pay on time and makes your work easier. Follow these to create smooth, professional invoices.
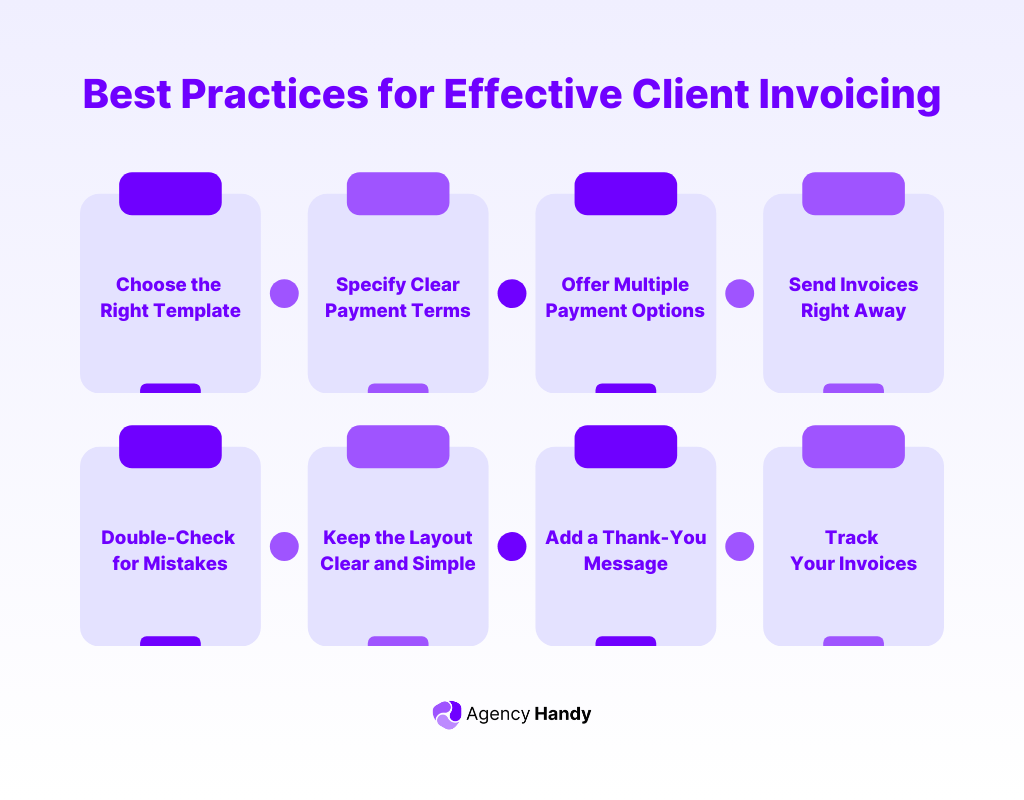
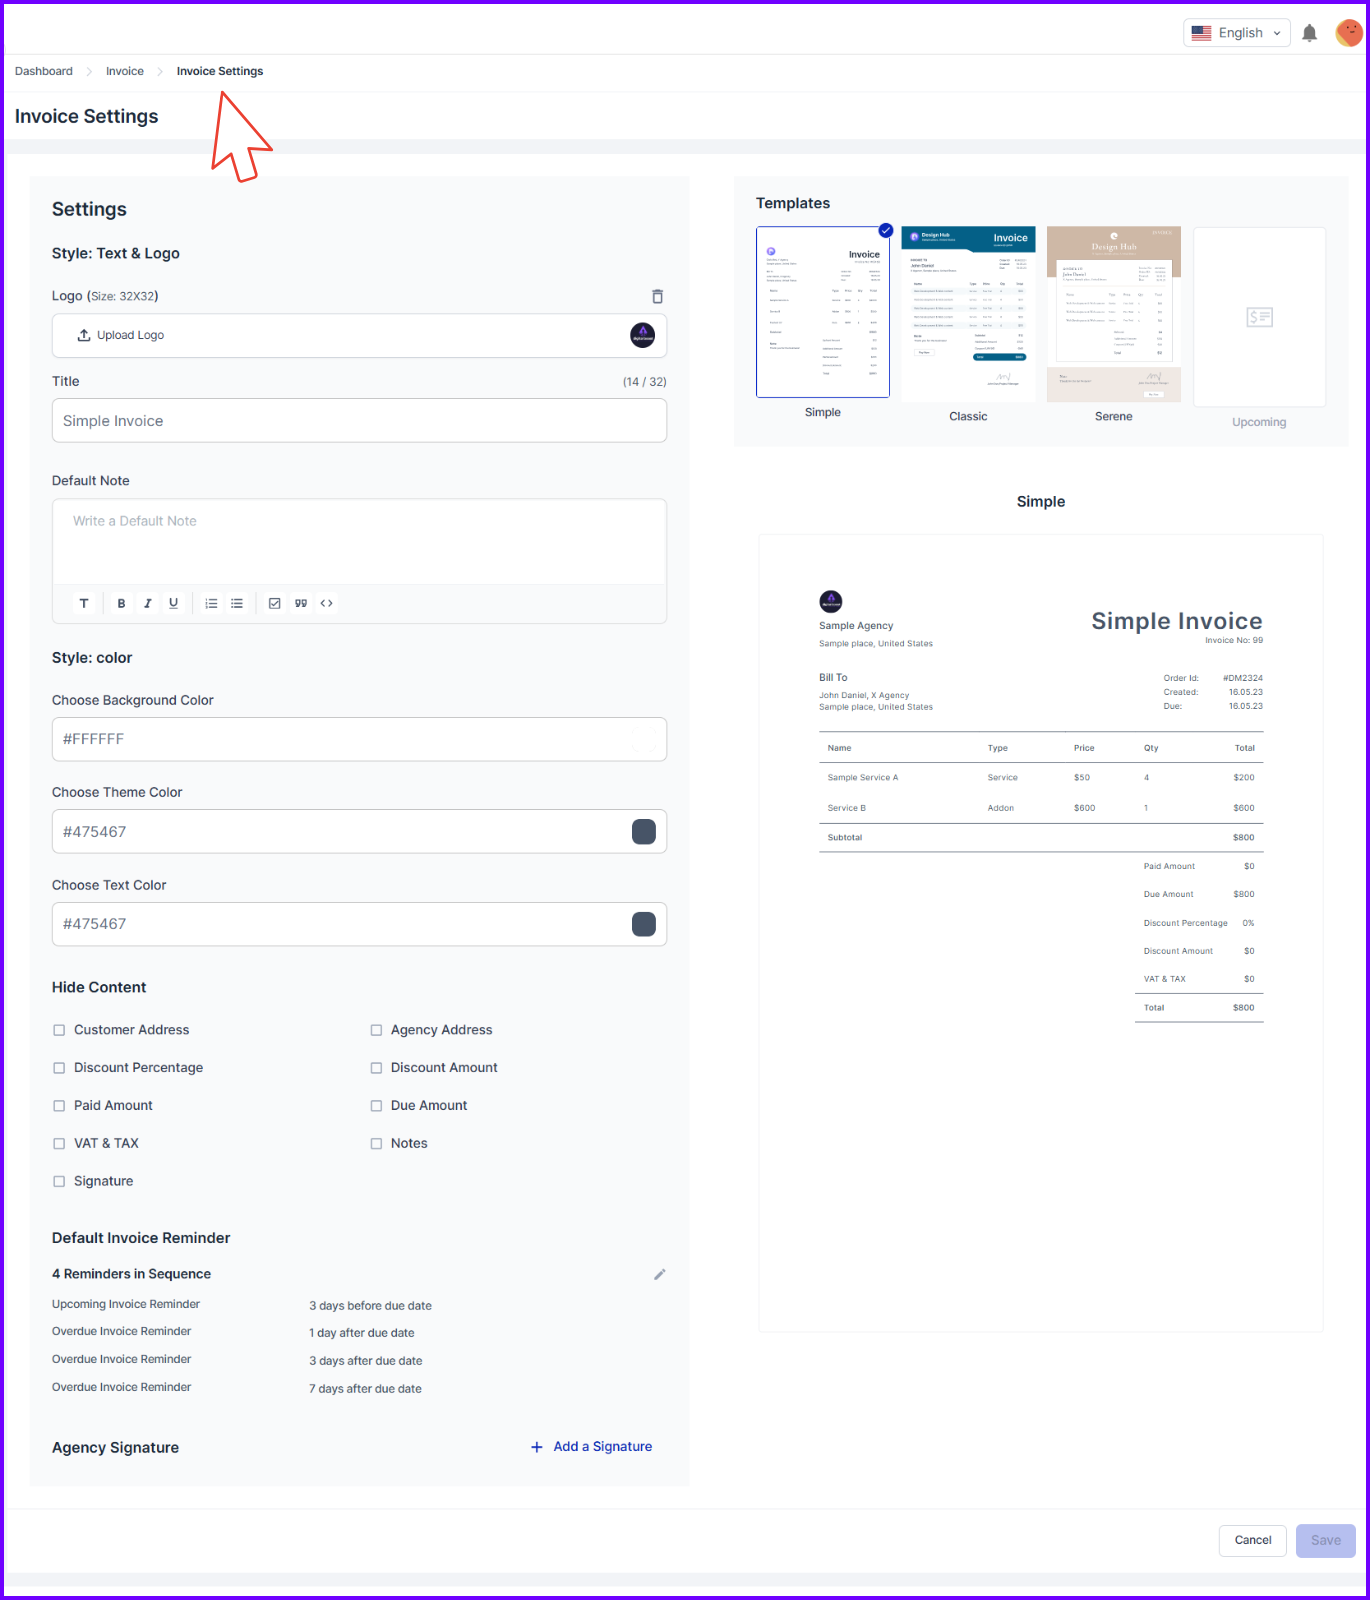
- Choose the Right Template: Select an invoice template that matches your brand’s style and your client’s preferences. Use a consistent template to make your invoices instantly recognizable.
- Specify Clear Payment Terms: State exactly when payment is due. If there are late fees or discounts for early payments, include those too.
- Offer Multiple Payment Options: Give clients multiple options to pay, like ACH transfers, credit cards, PayPal, Payoneer, or Wise. Flexible options make it easier for clients to pay quickly.
- Send Invoices Right Away: Send invoices as soon as you finish a project or hit a progressive point. Timely invoices help keep payments on schedule.
- Double-check for Mistakes: Mistakes can delay payments. Review and edit invoices before sending, ensuring client details and totals are correct.
- Keep the Layout Clear and Simple: Make your invoice easy to read by focusing on essential details like service descriptions, amounts, and due dates. Hide unnecessary fields like VAT or discount percentages for a clean invoice.
- Add a Thank-You Message: Strengthen relationships by including a thank-you message or a friendly reminder. Use this space to share updates, discounts, or reminders about upcoming services.
- Track Your Invoices: Stay organized by keeping track of which invoices are paid, unpaid, or overdue. This makes it easier to follow up if needed.
Top 6 Invoice Problems and Their Solutions
Handling large volumes of invoices can lead to frequent errors if you’re not using an efficient system. If you’re curious about your own invoice processing error rate, you can calculate it.
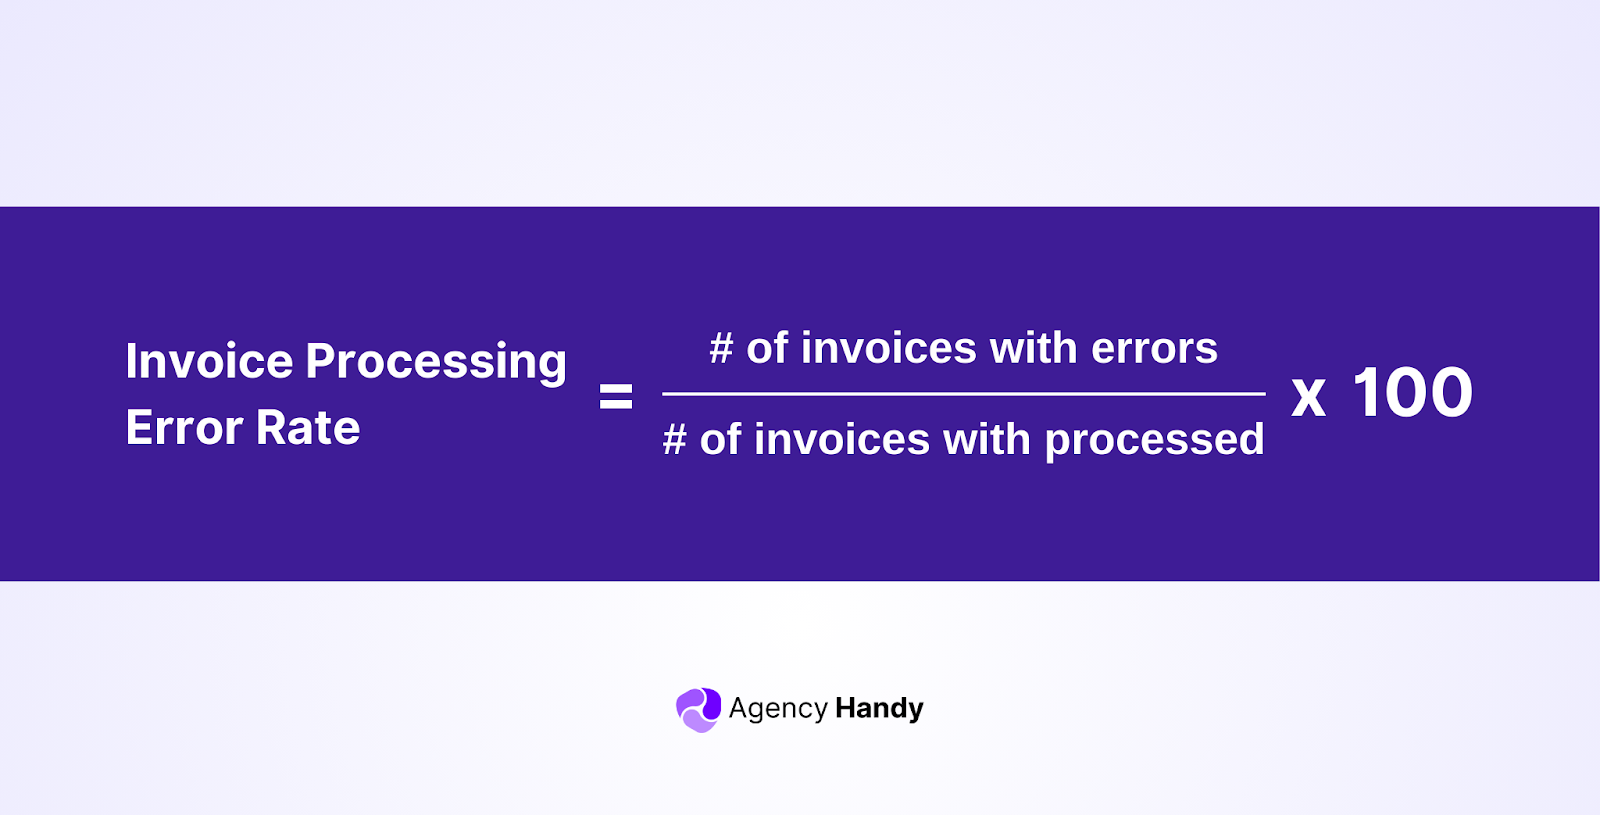
If your error rate is higher than you’d like, it’s time to rethink and fix those underlying issues.
Hence, here are the six most common invoicing problems and practical ways to solve them:
1. Forgetting to Send Invoices on Time
When you have multiple responsibilities, forgetting to send an invoice is more common than you’d think.
Solution: Recurring billing software makes sure that your invoices are sent and paid on time without adding to your workload.
2. Errors in Invoice Details
Mistakes like typos or missing information on an invoice can cause delays in payments and hurt your professional image. It can also lead to back-and-forth emails that waste time and frustrate everyone involved.
Solution: To avoid this, double-check every invoice before sending it out. Look for missing details, incorrect amounts, or any small errors. Better yet, use invoicing tools that can auto-fill the details.
3. Managing Multiple Invoices Manually
Managing invoices for different clients, payment schedules, and formats can quickly become stressful if you’re doing it all by hand. It’s easy to get overwhelmed, and mistakes can slip through the cracks.
Solution: Use invoicing software to handle everything in one place. These tools let you create, send, and track invoices for multiple clients without the hassle.
4. Chasing Overdue Payments
Chasing overdue invoices is never fun. It can feel awkward and take up a lot of your time when you’d rather focus on other things.
Solution: To make this easier, set up automated reminders. These can be polite yet firm and sent at regular intervals to nudge clients without straining your relationship.
5. Clients Claiming They Didn’t Receive Invoices
Sometimes clients say they never received your invoice, especially if it gets buried in a busy inbox. This can cause frustrating delays in payments.
Solution: If you are using invoicing software like Agency Handy already, you can set up your domain, and verify SMTP to make sure of email deliveries. On time, every time!
6. Consequences of Unpaid Invoices
Unpaid invoices aren’t just frustrating—they can seriously impact your business. If left unresolved, they might lead to costly legal issues that take time and money to fix.
Solution: Always have a clear contract in place. Include payment deadlines and outline penalties for late payments. If reminders don’t work, consider getting legal advice.
Wrapping Up
Invoicing is more than just a task—it’s how you keep your business organized and running smoothly. When you get it right, you avoid errors, get paid faster, and stay in control of your finances.
And, lastly, if you’re looking for an easier way to manage invoices, try Agency Handy. It takes the stress out of invoicing so you can focus on what matters most—your clients and the work you love.
FAQs About Billing Clients
What’s the best invoicing software for freelancers?
Agency Handy is an excellent option for freelancers, offering automation, payment tracking, and invoice templates.
Can I use invoices to upsell services?
Yes, you can. Use the notes section of your invoice to mention discounts, promotions, or other services that may interest your clients.
How can I avoid common invoicing mistakes?
Double-check client details, ensure pricing is accurate, and use clear descriptions. Automating your invoicing system can minimize errors and save time.


