
Getting paid on time starts with sending the right invoice. A mistake in your invoice can lead to delays, and according to experts at Amalto, 61% of late payments happen because of incorrect invoices.
A well-structured invoice ensures you get paid faster, looks professional, and builds trust with your clients. It should include your company’s name, address, logo, client details, list of services, payment terms, and total amount due.
You can create an invoice using Microsoft Word, Excel, or online invoicing tools, like Agency Handy. While manual invoices work, automated invoicing saves time and reduces errors.
In this guide, you’ll learn how to make a clear, professional, and effective invoice. Plus, we’ll share tips that help businesses avoid payment delays and keep cash flow steady.
What to Include in An Invoice
Every professional invoice needs these key pieces:
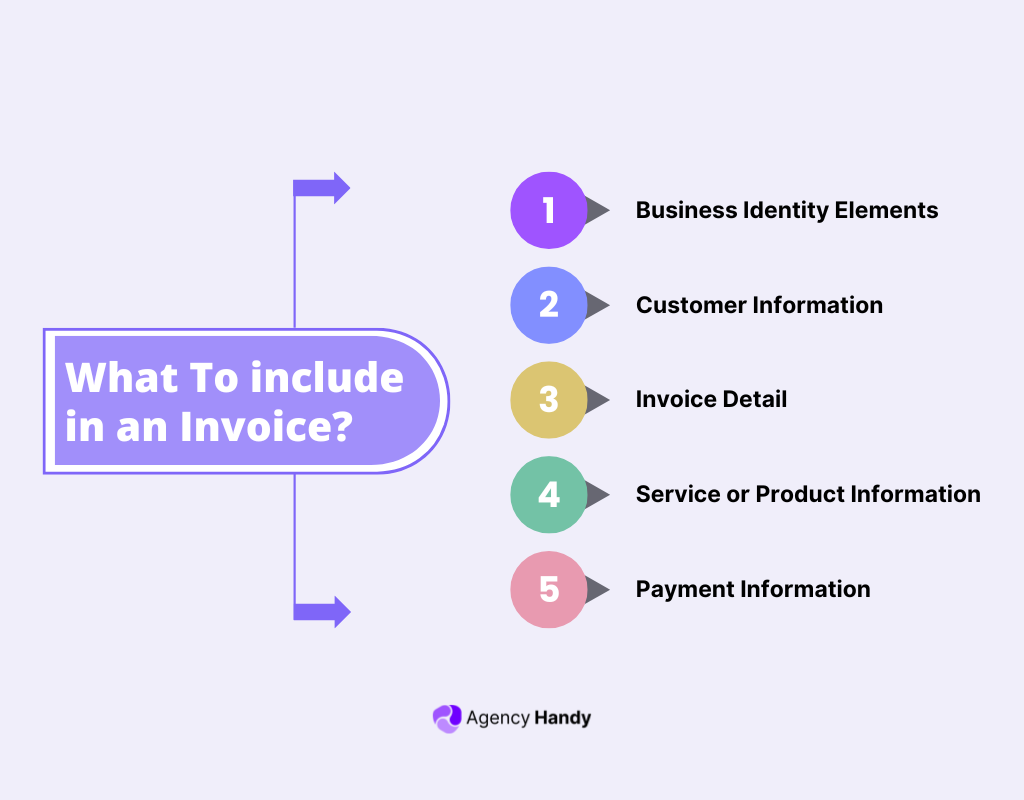
- Business Identity Elements: Your company name, logo, address, and contact details are the first things to include. This establishes your brand and provides essential contact information for any questions.
- Customer Information: Always include your client’s complete details – their name, company name if applicable, and full address. This ensures the invoice reaches the right person and department for payment.
- Invoice Details: Create a unique invoice number for tracking. Add the date you’re sending it and when you expect payment. These details become crucial for following up on late payments and maintaining organized records.
- Service or Product Information: Break down exactly what you’re charging for. List each item separately with clear descriptions, quantities, and individual prices. This transparency helps prevent confusion and payment delays.
- Payment Information: Spell out your payment terms, accepted methods, and any early payment discounts. Include your bank details or payment links if you accept online transfers. Make it as easy as possible for clients to pay you.
How to Make A Company Invoice in 10 Steps
Here is a step-by-step on how to create an invoice:
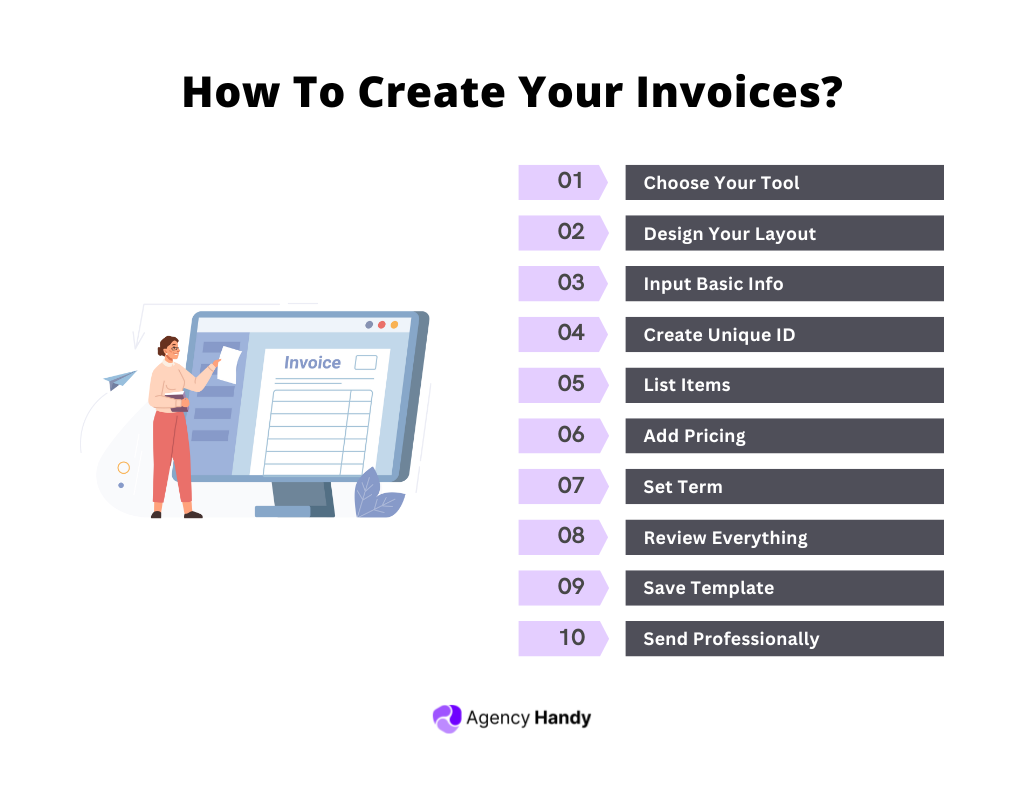
Step 1 – Choose Your Tool: Start with what works for you – whether it’s specialized software or a basic template
Step 2 – Design Your Layout: Add your logo and brand colors for a professional look
Step 3 – Input Basic Info: Enter your business details and customer information
Step 4 – Create Unique ID: Generate an invoice number following your system
Step 5 – List Items: Detail your products or services with clear descriptions
Step 6 – Add Pricing: Include individual prices and calculate totals
Step 7 – Set Terms: Clearly state your payment terms and due date
Step 8 – Review Everything: Double-check all details and calculations
Step 9 – Save Template: Keep a copy for future use
Step 10 – Send Professionally: Use a professional email with a clear subject line
How to Create A Company Invoice With A Free Invoice Generator
Following these steps, you can create an invoice with a free invoice generator:
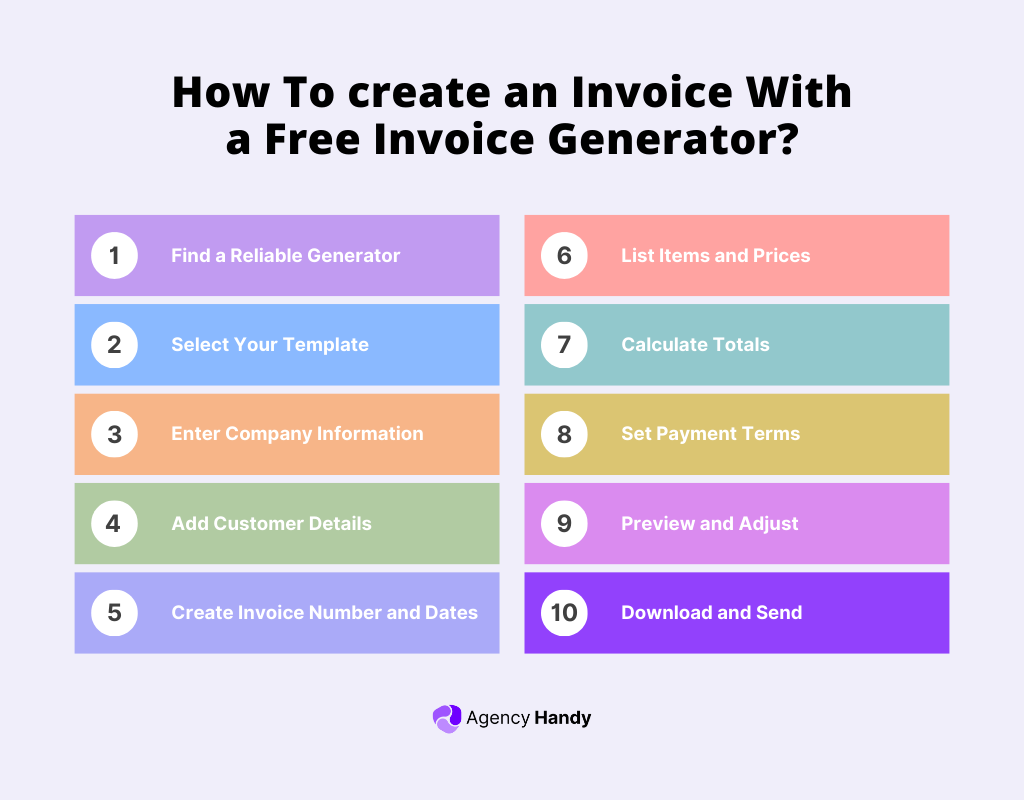
Step 1: Find a Reliable Generator
Look for trusted free invoice generators like Wave, Invoice Generator, or Zoho Invoice. Make sure they offer basic features without requiring payment information upfront. The best ones let you customize templates and download invoices as PDFs.
Step 2: Select Your Template
Browse through available templates and pick one that matches your business style. Look for clean, professional layouts that highlight important information. Most generators offer industry-specific templates – choose one that fits your field.
Step 3: Enter Company Information
Add your business details carefully. Include your company name, logo, address, phone number, and email. This information will often be saved for future invoices, so take time to get it right.
Step 4: Add Customer Details
Input your client’s complete information. Double-check the spelling of names and address accuracy. Many generators let you save client details for repeat business.
Step 5: Create Invoice Number and Dates
Generate a unique invoice number following your system. Set the issue date and payment due date clearly. Most generators will suggest a numbering system if you don’t have one.
Step 6: List Items and Prices
Detail each product or service with clear descriptions. Include quantities, unit prices, and total amounts. Be specific enough that clients understand exactly what they’re paying for.
Step 7: Calculate Totals
Let the generator calculate subtotals, taxes, and final amounts. Double-check these calculations match your records. Most generators handle tax calculations automatically based on your location.
Step 8: Set Payment Terms
Clearly state when and how you expect payment. Include accepted payment methods and any late payment penalties. Many generators let you add custom notes about payment terms.
Step 9: Preview and Adjust
Review your invoice’s appearance and information. Make any necessary formatting adjustments for better readability. Check that all calculations are correct.
Step 10: Download and Send
Save your invoice in PDF format and send it professionally. Keep a copy for your records. Most generators allow direct emailing to clients through their platform.
How Do I Create An Invoice In Microsoft Word?
If you prefer using Microsoft Word for invoicing, follow these simple steps to create a professional invoice.
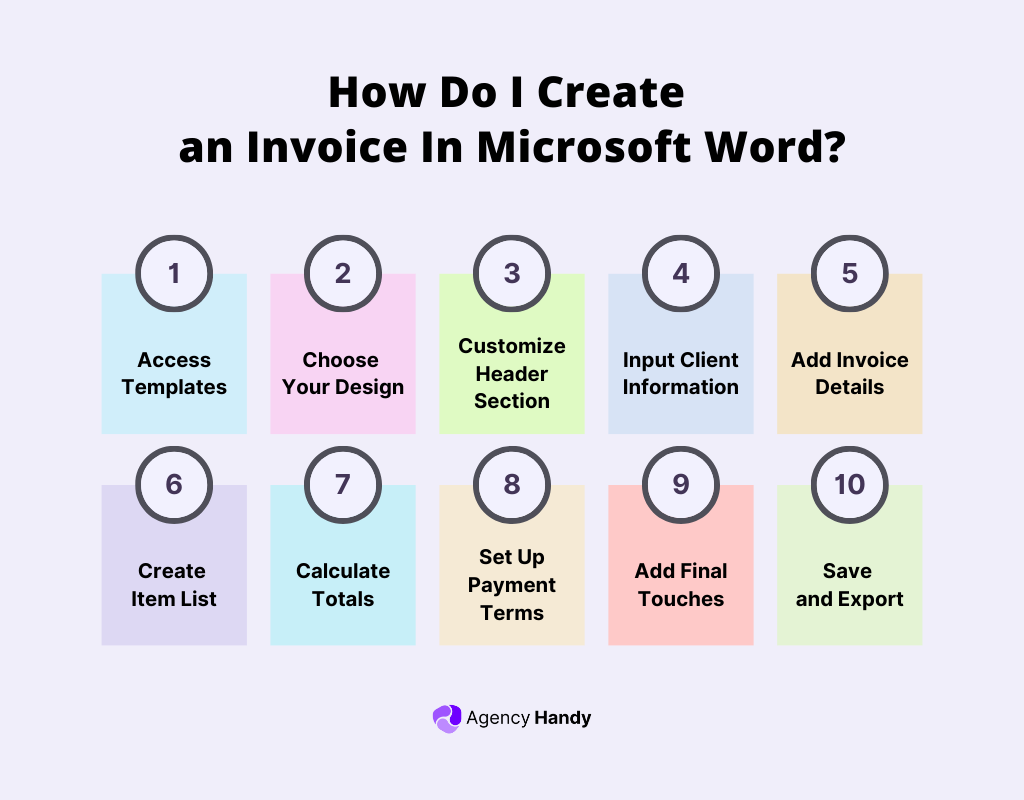
Step 1: Access Templates
Launch Microsoft Word and click File > New. In the search bar, type “invoice” to find ready-made templates. Choose one that fits your needs.
Step 2: Choose Your Design
Pick a template with clear sections for all essential details. A good template includes tables for itemized listings, making calculations easy to follow.
Step 3: Customize Header Section
Replace the placeholder text with your company information. Add your logo to the top right or left corner. Make sure your contact details are prominently displayed.
Step 4: Input Client Information
Fill in your customer’s details in the designated “Bill To” section. Include their complete business name, address, and contact person. Keep formatting consistent with your header.
Step 5: Add Invoice Details
Insert a unique invoice number, date, and payment terms. Use Word’s date picker for consistency. Make these elements stand out visually so they’re easy to spot.
Step 6: Create an Item List
Use the built-in table to list your products or services. Write clear descriptions and include quantities, unit prices, and totals. Word’s table tools help keep everything aligned.
Step 7: Calculate Totals
Add up all items, including any taxes or discounts. While Word won’t calculate automatically like Excel, you can use a calculator and input the totals manually.
Step 8: Set Up Payment Terms
Add a section clearly stating payment terms, methods, and due dates. Include your banking details or payment instructions if needed.
Step 9: Add Final Touches
Include any notes or special terms at the bottom. Add a professional thank you message. Consider using Word’s footer for your company’s registration numbers.
Step 10: Save and Export
Save as both a Word document (for future editing) and a PDF (for sending). Create a consistent file naming system for easy tracking.
How to Create An Invoice in Microsoft Excel
Here are the steps to create an invoice in Microsoft Excel:
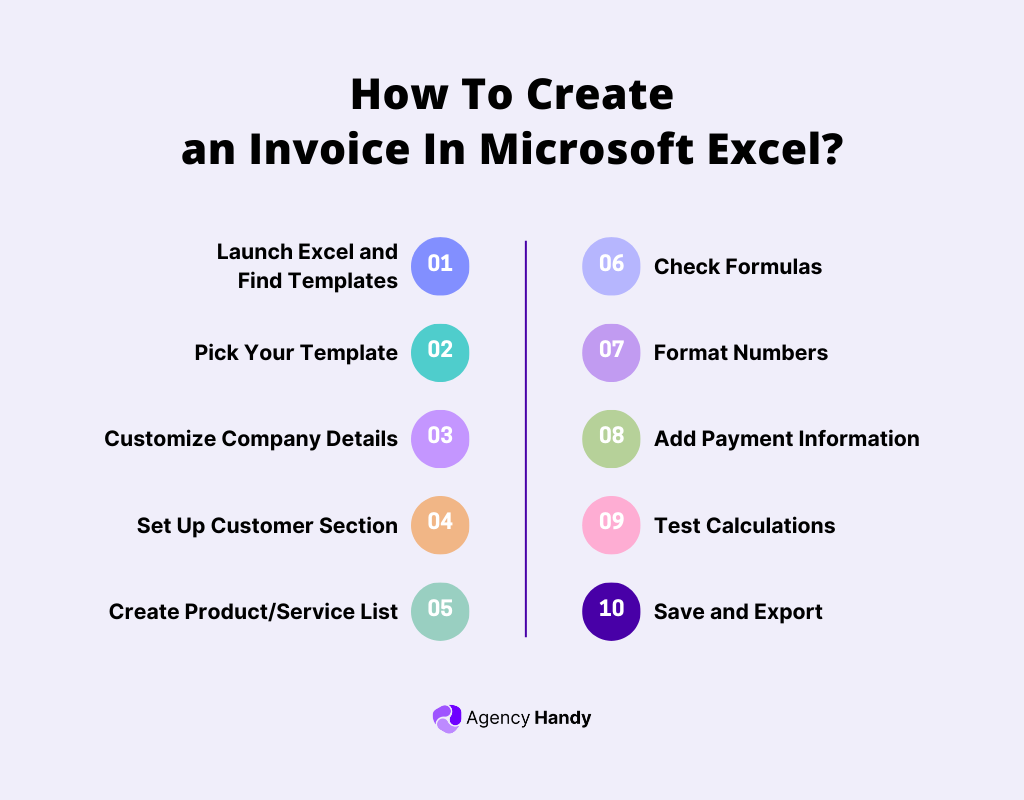
Step 1: Launch Excel and Find Templates
Open Excel and search for invoice templates under ‘File > New’. Excel offers templates with built-in formulas for automatic calculations.
Step 2: Pick Your Template
Choose a template that includes formulas for automatic calculations. Look for one with clear sections and professional formatting.
Step 3: Customize Company Details
Replace the placeholder text with your business information. Excel’s cell formatting tools help maintain a clean, professional look.
Step 4: Set Up Customer Section
Add your client’s information in the designated area. Use proper cell alignment for professional presentation.
Step 5: Create Product/Service List
Use Excel’s rows to list items, ensuring formulas are correctly linked for automatic calculations.
Step 6: Check Formulas
Verify all formulas are working correctly. Ensure subtotals, taxes, and final amounts are calculated automatically. Excel’s formula bar helps spot any errors.
Step 7: Format Numbers
Use Excel’s number formatting for consistent currency display. Set appropriate decimal places and currency symbols.
Step 8: Add Payment Information
Include payment terms and bank details. Use cell merging for cleaner text presentation when needed.
Step 9: Test Calculations
Enter test values to ensure all calculations work correctly. Double-check tax rates and discount calculations.
Step 10: Save and Export
Save as both Excel files (for records) and PDF (for sending). Consider password protection for sensitive information.
Tips to Improve Your Company Invoices
If your invoices are unclear or missing details, clients may delay payments, leading to cash flow issues. To make sure your invoices work efficiently, follow these simple tips.
Use a Professional Layout
Your invoice should look clean, organized, and easy to read. A well-structured format makes it simple for clients to find important details, reducing confusion and speeding up payments.
Keep Records
Maintain a record of all invoices and payments received. This helps with tracking pending payments and is essential for tax purposes and financial planning.
Personalize Your Invoices
Adding a simple thank-you note or a personalized message can strengthen client relationships. A small gesture goes a long way in building long-term business connections.
Quality Design
Choose high-quality paper for printed invoices. Keep the layout clean and uncluttered. You should maintain a polite, professional tone throughout. Include a courteous thank-you note.
Best Practices When Creating A Company Invoice
With the right approach, you can ensure timely payments, avoid misunderstandings, and maintain a smooth financial workflow. Start using these best practices today to keep your business running efficiently.
Include All Necessary Information
Every invoice must have your business name, address, client details, a clear description of goods or services provided, and the total amount due. If applicable, include your tax ID to ensure compliance with legal requirements.
Clarify Payment Terms
State the due date and accepted payment methods clearly. If you charge late fees, mention them upfront to encourage timely payments. Clear payment terms help clients understand expectations and avoid delays.
Use Unique Invoice Numbers
Assign a unique number to each invoice for easy tracking. This helps in managing records, resolving disputes, and keeping financial documentation organized.
Deliver Promptly
Send invoices as soon as the job is completed or the product is delivered. The sooner a client receives an invoice, the sooner they’re likely to process the payment.
Follow Up on Payments
If an invoice is overdue, a polite reminder can keep it on the client’s radar. Automated invoicing tools can send follow-up emails, making the process effortless.
Use Digital Invoicing Tools
Automating invoices with online tools can save time and reduce errors. Digital platforms allow you to set up recurring invoices, send reminders, and keep everything organized in one place.
Make Payments Easy
Offering multiple payment methods, such as bank transfers, credit cards, or online payment gateways, makes it more convenient for clients to pay on time. The easier you make it, the faster you get paid!
Wrapping Up
An invoice isn’t just a document—it’s a key part of getting paid on time. Clear, accurate, and professional invoices make payments easier and build trust with your clients.
Whether you use Word, Excel, or Agency Handy, always double-check the details before sending. A well-structured invoice keeps your finances in order and helps you avoid payment delays.
Follow these steps, choose the right tools, and make invoicing simple. The smoother your process, the better your cash flow and client relationships will be.
FAQs
What is an invoice?
An invoice is a detailed bill requesting payment for goods or services provided. You need it for credit sales, professional services, or any business transaction where payment isn’t made immediately.
How long do invoices take to process?
Invoice processing typically varies depending on your business setup and volume. For established businesses with streamlined systems, processing usually takes 1-2 business days. During initial setup or for complex invoices, expect 5-7 days. Large organizations might need additional time for approval processes and internal routing.
How long should I give clients to pay an invoice?
Most businesses offer 30 days, but it can vary based on your industry and client relationships. Some prefer shorter terms, like 14 days, while others might extend to 60 days for long-term clients.
Can I send invoices by email?
Yes! Electronic invoicing is now standard practice. Send them as PDF attachments to maintain formatting and prevent alterations. Just ensure your client confirms receipt.
What if a client doesn’t pay on time?
Start with a gentle reminder email. If payment remains outstanding, follow up with a phone call. Consider implementing late payment fees, but communicate these clearly in advance.
Should I include tax on my invoices?
It depends on your location and tax requirements. Most businesses must include sales tax, but rates and rules vary by region. Consult with a tax professional for specific guidance.
Can I change an invoice after sending it?
It’s best to avoid the original and issue a new one with corrections. Keep records of both versions and clearly communicate changes to your client.


